In this guide, you will find the process of building a Satsuma car in My Summer Car along with the bolt sizes. The guide is complete and constantly updated. Prefer a video tutorial? You will find it in this guide.
First steps and necessary items
Before you start building a car, check the guide on Start the game – do what is described there first.
The nuts on the lining/linkage parts must be tightened/unscrewed using flat wrenches (spanner set)
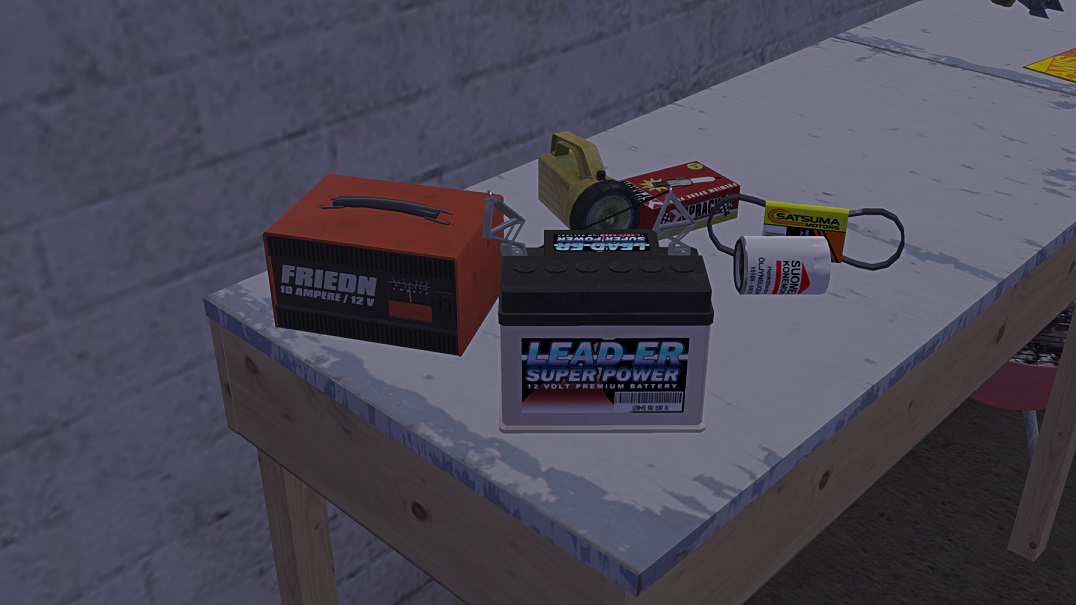
Before building a car, take the battery and connect it for charging
The video tutorial can be found at the bottom of the guide
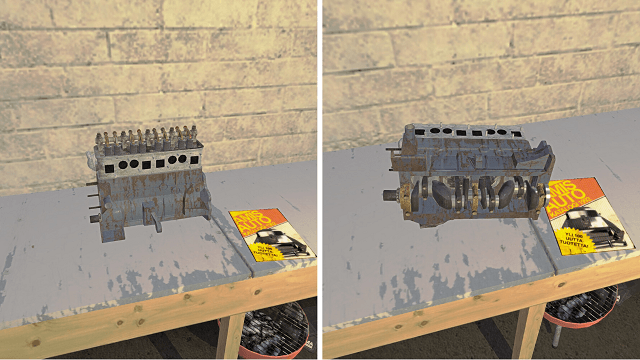
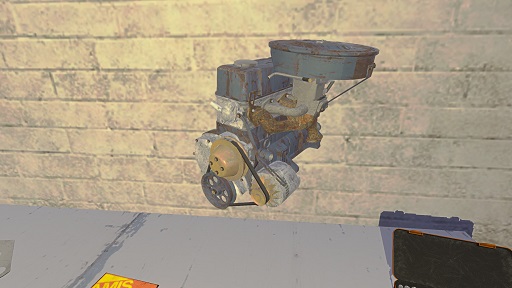
Engine
Crankshaft -> block
Main bearings (x3) – 2x9mm
Pistons (x4) – 2x7mm
Head gasket -> block
Cylinder head – 10x7mm
Adjust valves – screwdriver (you can do it after building the car and starting the engine)
Rocker shaft – 5x8mm – to properly adjust the rocker shaft, scroll down to the end (20 times) then scroll up 7 times (repeat on each valve). Badly adjusted valves make a ticking sound
Rocker cover – 6x7mm
Camshaft – 2x5mm (hole on left side of engine)
Camshaft gear – 1x10mm – The camshaft gear must be correctly positioned if it goes wrong your engine will be seriously damaged. If after starting the engine you hear a metallic knock, it will mean that you have set the gear position incorrectly.
Timing chain
Timing cover – 6x6mm
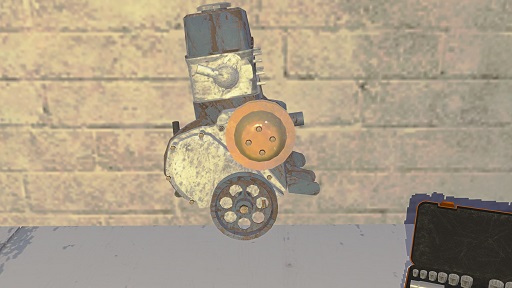
Water pump – 5x7mm
Water pump pulley – 4x7mm
Crankshaft pulley – 1x11mm
Headers – 5x8mm
Carburator – 4x8mm Airfilter – 2x6mm
Alternator – 1x7mm, 1x10mm, screwdriver – tighten the screws first, then loosen the alternator by hand, put on the Alternator belt and pull it back (to the end, then two turns of the mouse wheel down). If the alternator belt squeals after starting the engine, it is too loose.
Engine plate
Starter – 2x7mm
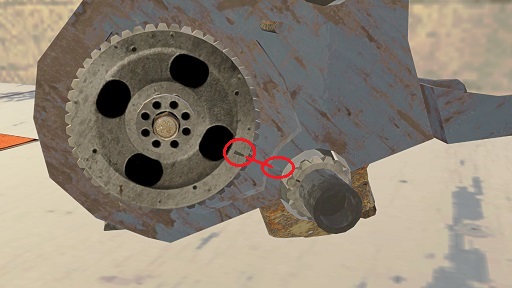
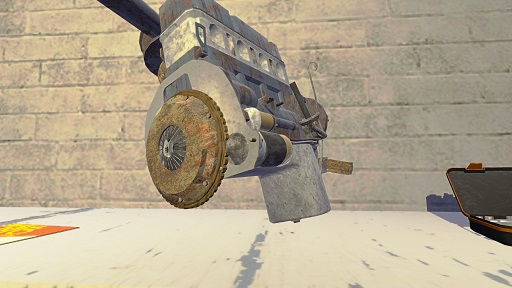
Flywheel – 6x7mm
Clutch pressure plate -> clutch cover plate
Clutch disc -> cover plate
All Clutch components for Flywheel – 6x6mm
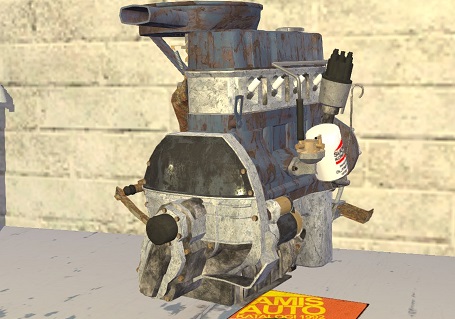
Oilpan – 8x7mm, 1x13mm
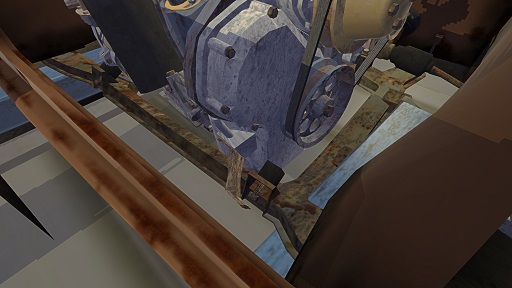
Gearbox and then Inspection cover – 6x7mm, 1x10mm
Drive gear – 7x6mm
Distributor – Screwdriver – to properly adjust the distributor, scroll down to the end and then scroll up 27 times before tightening the screw
Spark plugs (x4) – you need to tighten with a sparkplug wrench/socket
Fuel pump – 2x7mm
Oil filter – Mouse scroll
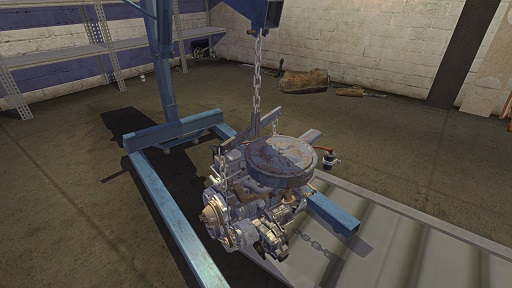
To attach the engine to Satsuma, use Motor Hoist (hook the chains onto the engine and tighten the screws 2x10mm).
Suspension, chassis, body, interior
Sub frame – 4x10mm
Steering rack – 4x9mm
Steering column – 2x8mm
Wishbones (x2) – 2x10mm
Spindles (x2) – 1x12mm
Struts (x2) – 4x9mm, 3x10mm
Steering rods (x2) – 1x12mm
Now you need to move the engine to the front of the car (you need to aim well so that the screws appear) and tighten – 3x11mm
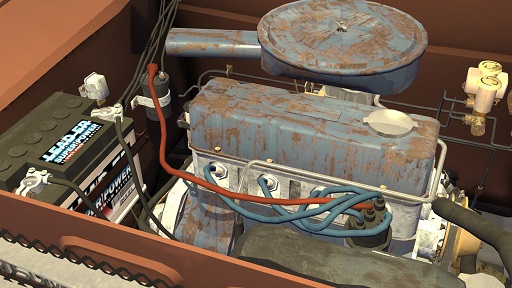
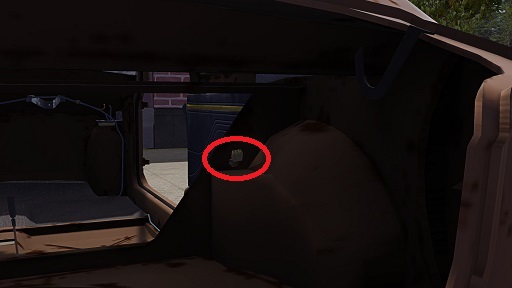
If you screwed the engine to the subframe, take Electrics and screw it to the vehicle body – 2x8mm
*Don’t worry now about the wiring and battery shown in the picture – the screenshot was taken after the car was completely built
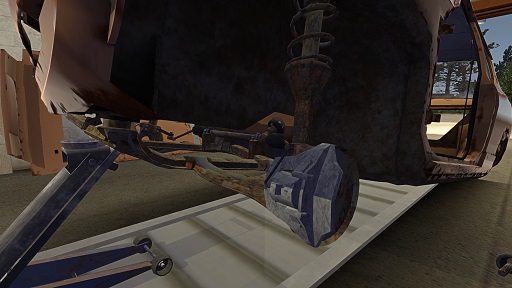
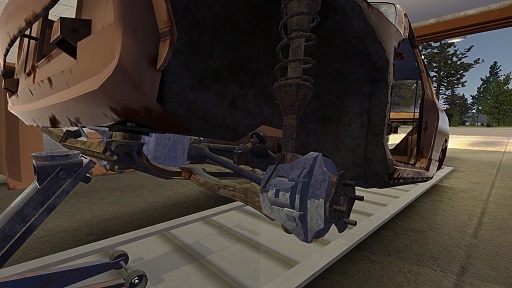
Disc brakes (x2) and then Halfshafts (x2) – 3x9mm, 1x14mm
Now you need to adjust the steeringrod (x2) so that the car goes straight – 1x14mm
Turn until it stops turning (wheel, steering rod), then turn exactly 60 times in the opposite direction
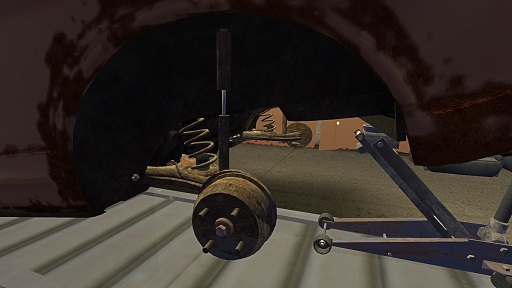
Trail arms (x2) – 2x12mm
Drum brakes (x2) – 1x14mm
Coil springs (x2)
Shock absorbers (x2) – 1x12mm, 2x6mm
Wheels (x4) – 4x13mm
Fuel strainer – 1x8mm
Dashboard – 2x10mm (one bolt in glove box)
Dashboard meters – 2x6mm (glove box)
Clock gauge – 2x7mm
Radio
Steering wheel – 1x10mm
Gear stick – 3x6mm
Gear linkage – 3x5mm
Clutch master cylinder – 1x9mm, 2x8mm
Brake master cylinder – 1x9mm, 2x8mm
Clutch lining – 2x7mm
Brake lining – 11x7mm (6xline nuts,1xbolt in the engine, 4xwheel – at each wheel)
Handbrake – 4x8mm, 1x5mm
Radiator – 4x7mm
Radiator hoses (x3) (You need to screw clamps (5 in total) – use a Screwdriver)
Fuel tank pipe
Fuel tank – 7x11mm, 1x12mm (fuel lining)
Exhaust pipe – 3x7mm
Exhaust muffler – 1x7mm
Front seat (x2) – 4x9mm
Rear seat – 2x9mm
Car Light Bulb to Headlight
Headlights (x2) – 2x7mm
Rear lights (x2)
Bootlid – 4x6mm
Hood – 4x6mm
Back panel or subwoofer panel
Doors (x2) – 4x10mm
Fender (x2) – 5x5mm
Grille – 2x6mm
Bumpers (x2) – 2x8mm
Hubcap (x4)
Mudflap (x4)
Battery
Now refill the car fluids (brake/clutch oil, engine oil, coolant)
Wiring
Before connecting anything with a wiring mess, remember to disconnect the battery from the power supply – otherwise you may die. You can’t connect the wires badly, so even if you walk and spam the F key, you don’t have to worry about doing something wrong.
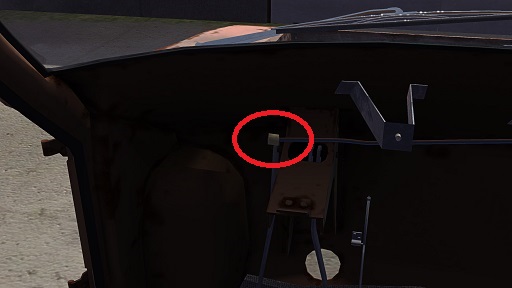
The hardest part of building a car, i.e. an electrician, is ahead of you. Sometimes you will have to connect the cables to the same place several times. There are several places in the car where the wiring harness connectors are located – it is from them that you need to connect the electrics of individual elements:
List to connect:
– To the battery (negative and positive terminal):
Starter – you must unscrew the bolt (1x7mm) before connecting. In second place, after connecting the wires you need to tighten it (1x5mm)
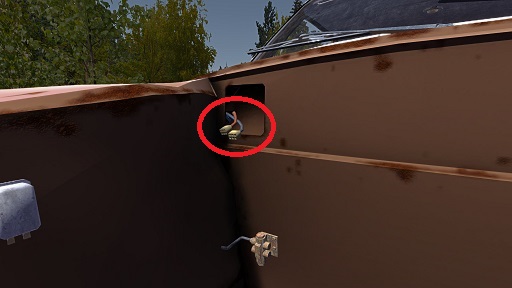
– Regulator:
Alternator
– Headlights harness connector:
Headlight right and left (take off the headlights 2x7mm – first remove the Grille – 2x6mm)
Marker light (you won’t have them at the beginning of the game) Main harness connector
– Main harness connector:
Battery
Electrics
Radiator
Regulator
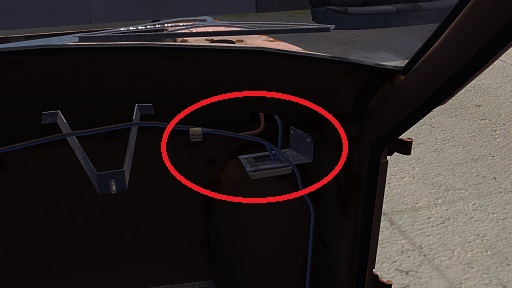
– Rear harness connector:
Fuel tank
Rearlight left and right
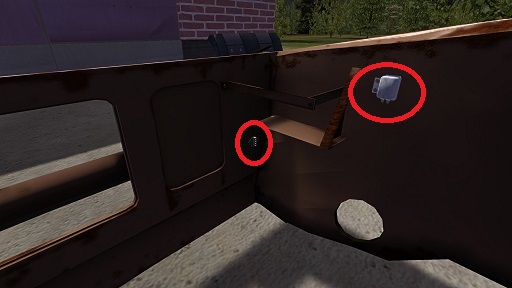
– Fusebox
Dashboard (gauges, ignition, hazard, lights)
– Radio harness connector:
Radio
Amplifier (you won’t have them at the beginning of the game)
– Dash harness connector:
Dashboard (wipers, headlights, extra gauge, fuel mixture gauge)
– Amplifier:
Radio
Subwoofer left and right
Finally, you need to connect the battery (two clamps, start with the plus (red)) – the first start of the car may take up to 30 seconds, this is normal if the fuel pump is in poor condition.
We use cookies on our website to give you the most relevant experience by remembering your preferences and repeat visits. By clicking “Accept”, you consent to the use of ALL the cookies.
This website uses cookies to improve your experience while you navigate through the website. Out of these, the cookies that are categorized as necessary are stored on your browser as they are essential for the working of basic functionalities of the website. We also use third-party cookies that help us analyze and understand how you use this website. These cookies will be stored in your browser only with your consent. You also have the option to opt-out of these cookies. But opting out of some of these cookies may affect your browsing experience.
Necessary cookies are absolutely essential for the website to function properly. These cookies ensure basic functionalities and security features of the website, anonymously.
Cookie
Duration
Description
cookielawinfo-checkbox-analytics
11 months
This cookie is set by GDPR Cookie Consent plugin. The cookie is used to store the user consent for the cookies in the category "Analytics".
cookielawinfo-checkbox-functional
11 months
The cookie is set by GDPR cookie consent to record the user consent for the cookies in the category "Functional".
cookielawinfo-checkbox-necessary
11 months
This cookie is set by GDPR Cookie Consent plugin. The cookies is used to store the user consent for the cookies in the category "Necessary".
cookielawinfo-checkbox-others
11 months
This cookie is set by GDPR Cookie Consent plugin. The cookie is used to store the user consent for the cookies in the category "Other.
cookielawinfo-checkbox-performance
11 months
The cookie is used to store the user consent for the cookies in the category "Performance".
viewed_cookie_policy
11 months
The cookie is set by the GDPR Cookie Consent plugin and is used to store whether or not user has consented to the use of cookies. It does not store any personal data.
Functional cookies help to perform certain functionalities like sharing the content of the website on social media platforms, collect feedbacks, and other third-party features.
Performance cookies are used to understand and analyze the key performance indexes of the website which helps in delivering a better user experience for the visitors.
Analytical cookies are used to understand how visitors interact with the website. These cookies help provide information on metrics the number of visitors, bounce rate, traffic source, etc.
Advertisement cookies are used to provide visitors with relevant ads and marketing campaigns. These cookies track visitors across websites and collect information to provide customized ads.


Thanks for the manual, it makes it easier than pausing and unpausing hour-long videos on YouTube, I can build at a faster pace with it.